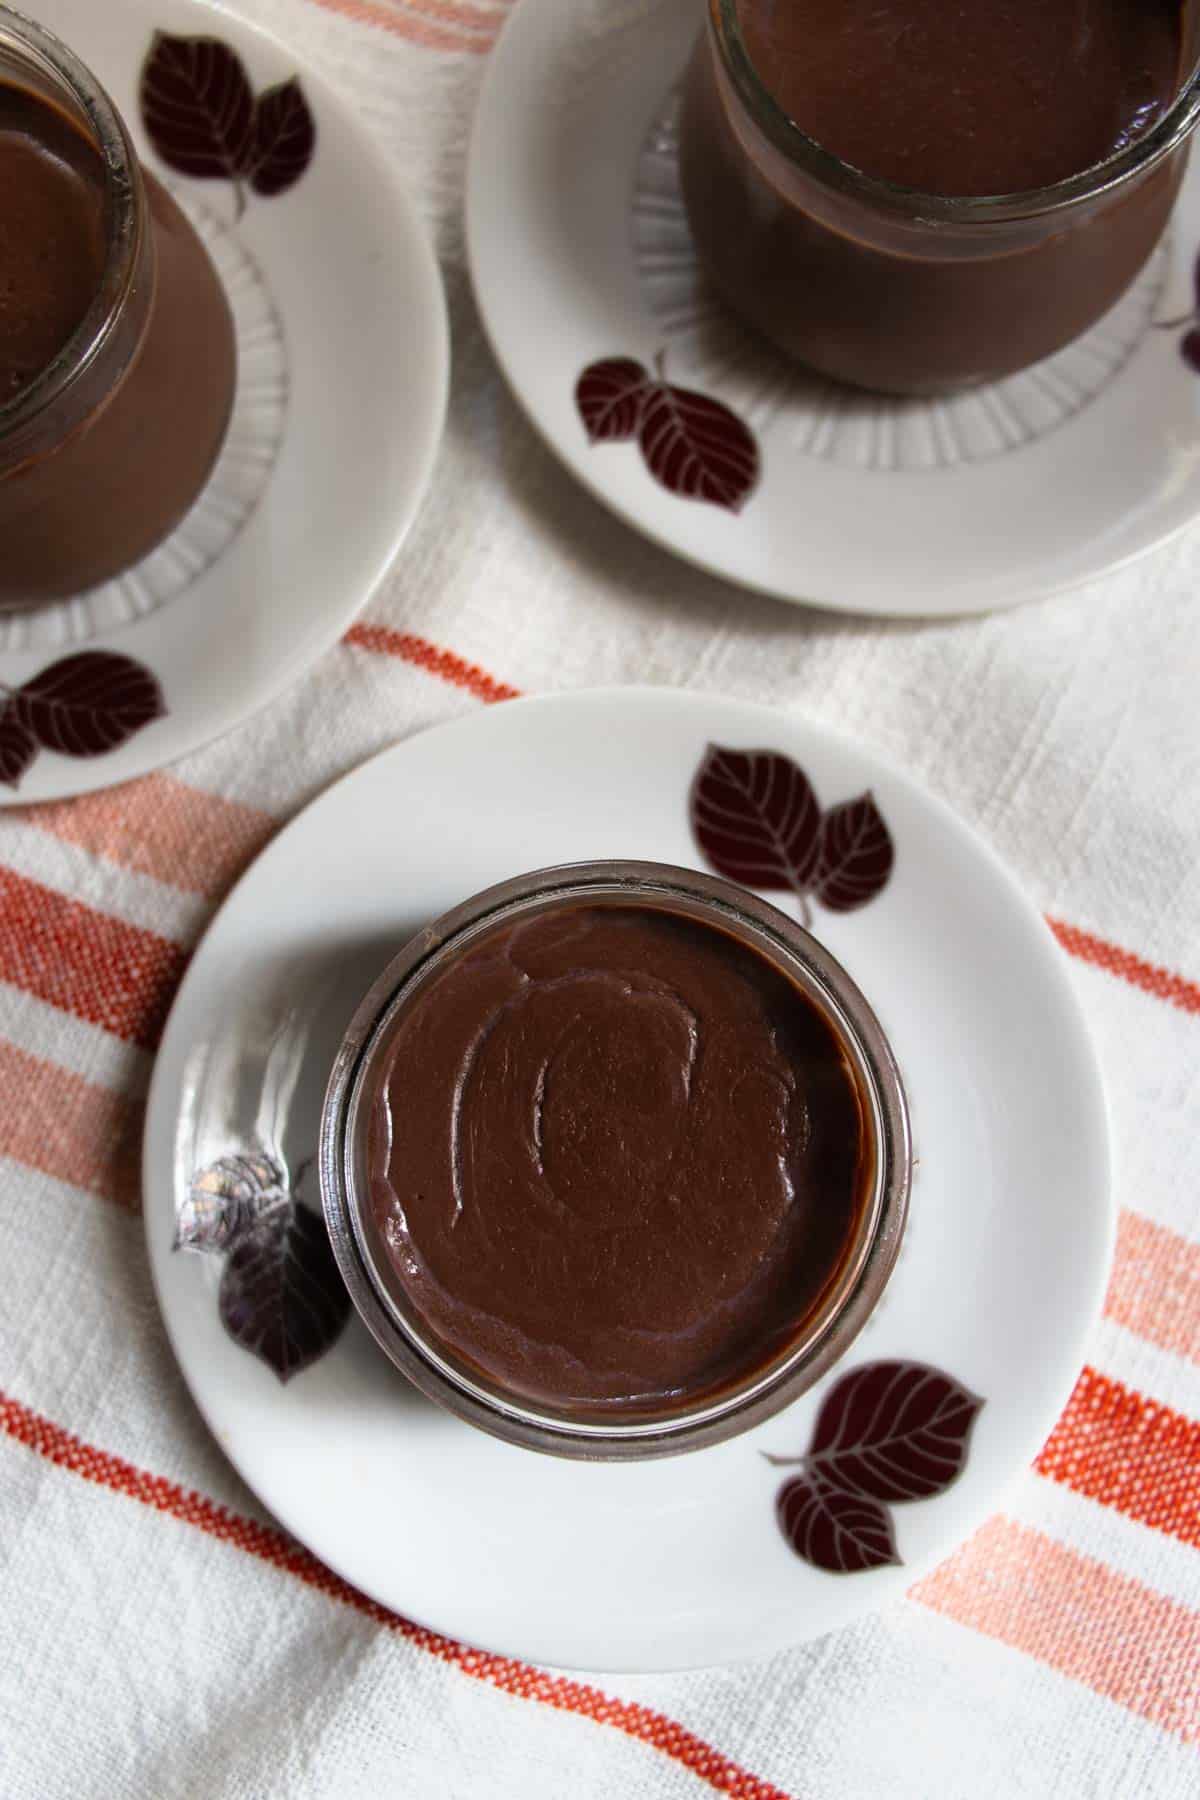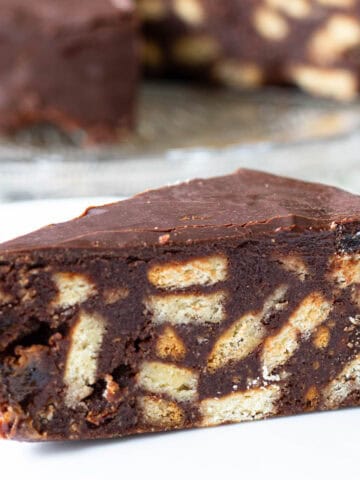
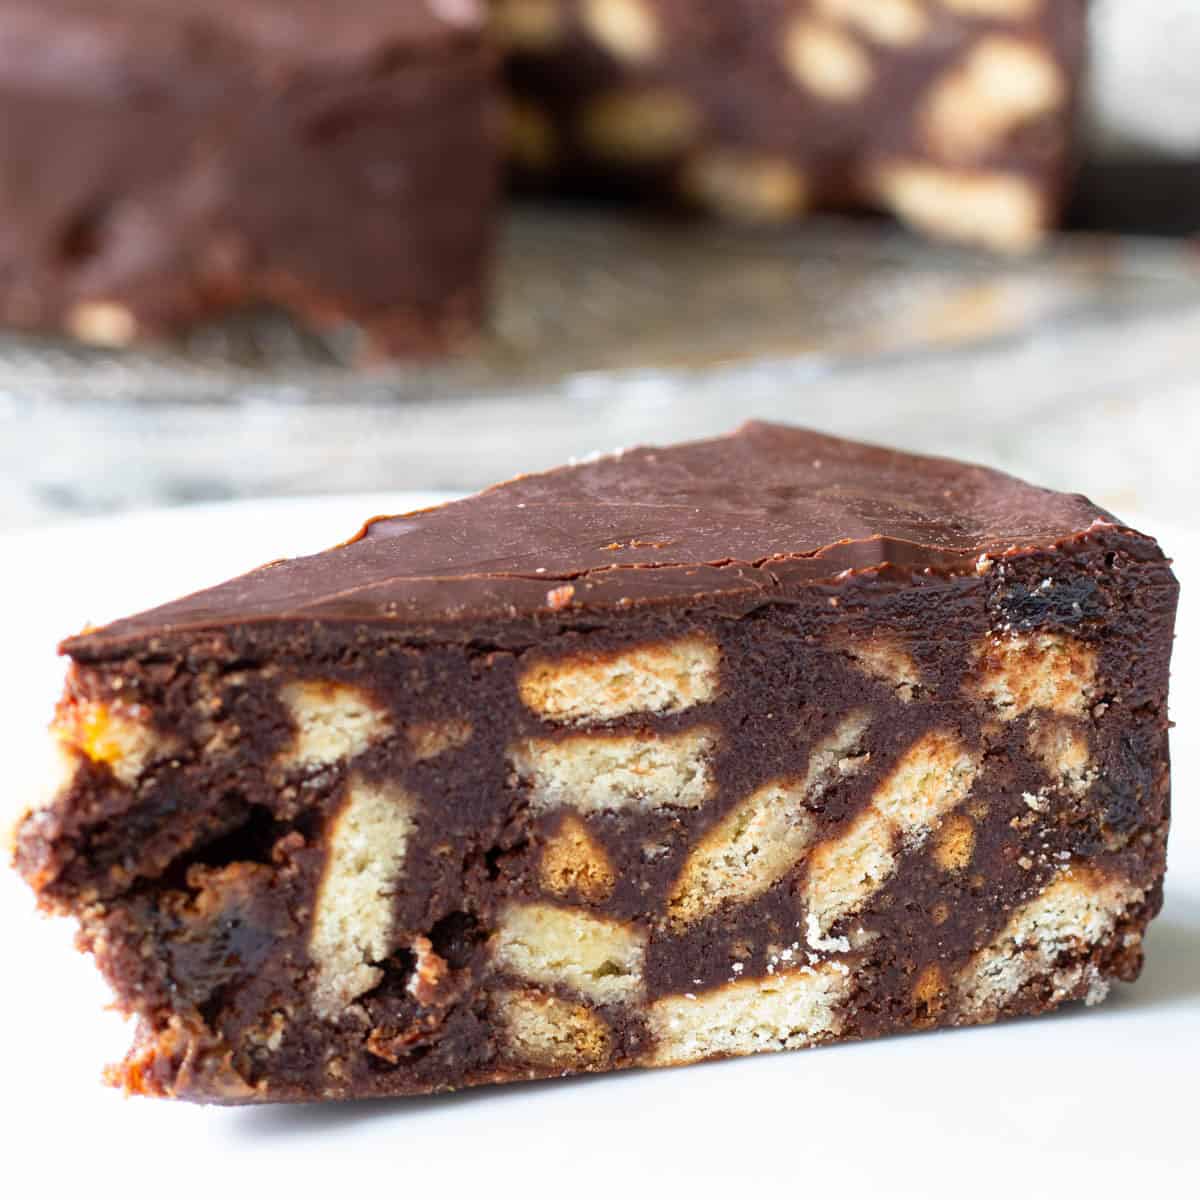
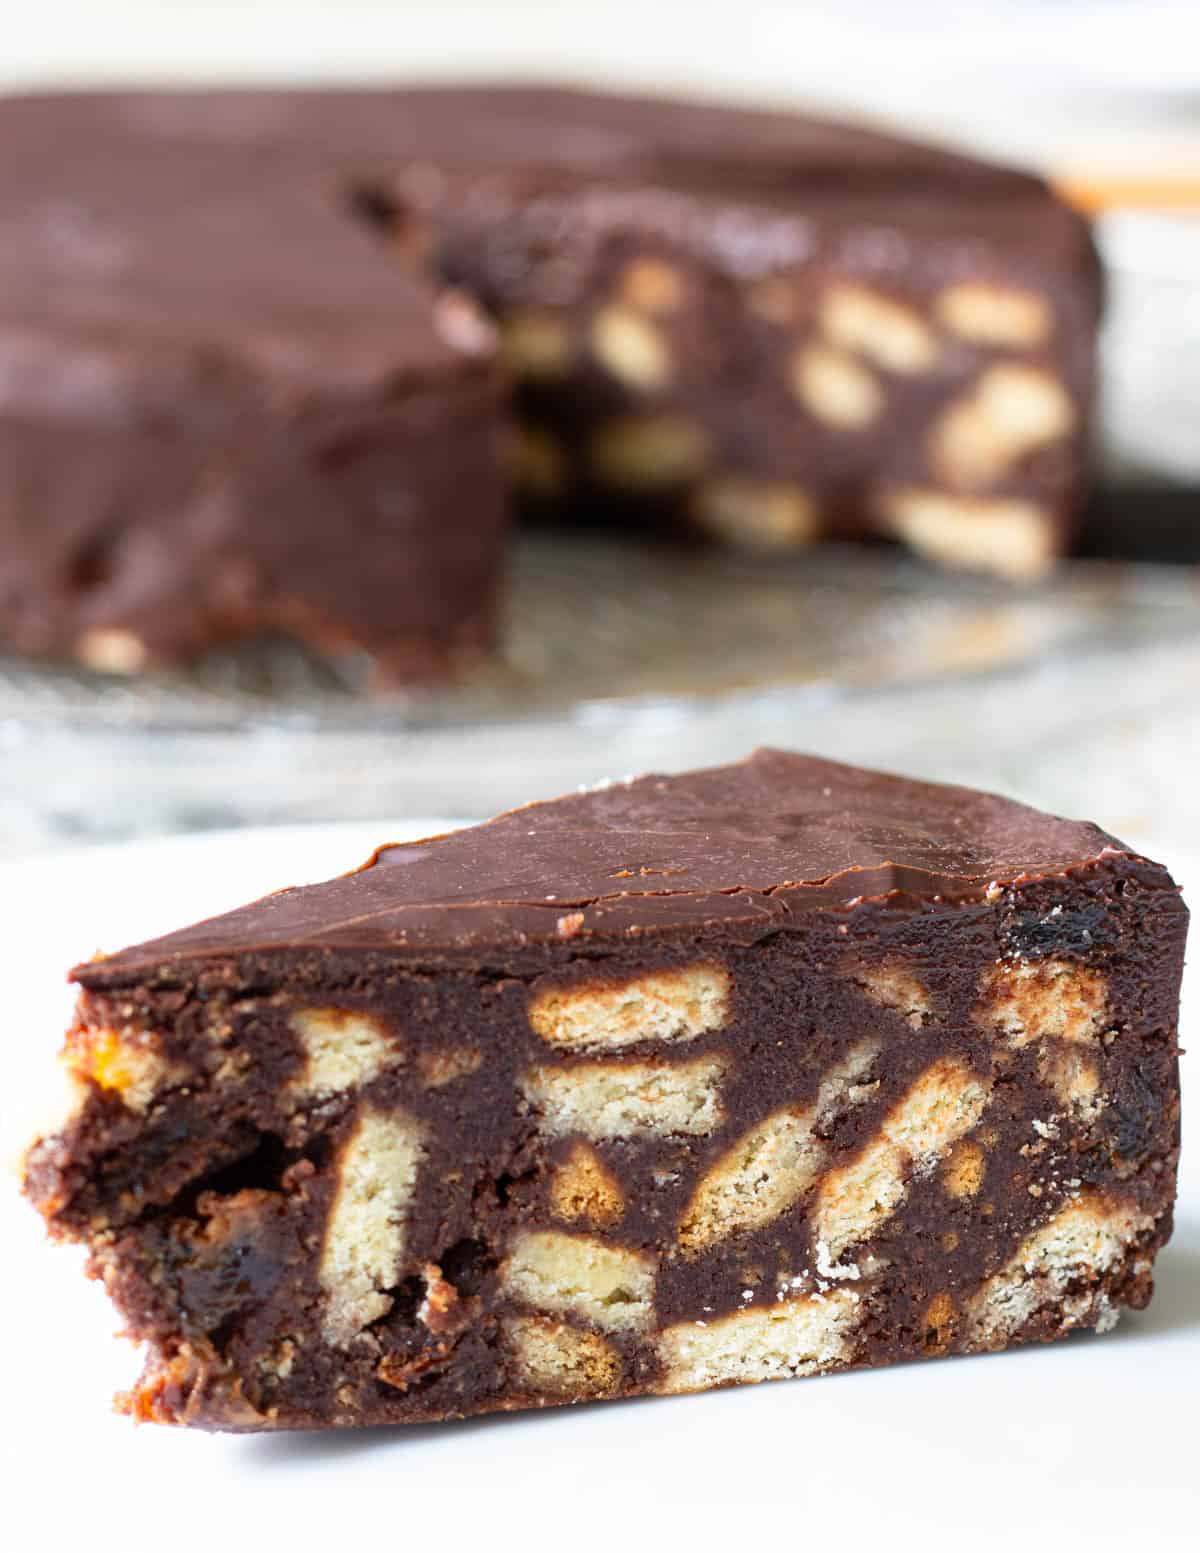
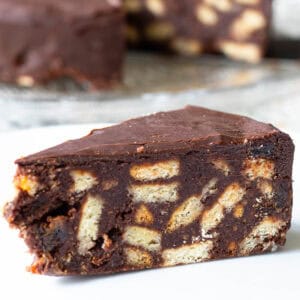
Indulge in this chocolate-rich, moist and buttery Lazy Cake! Aptly named a Lazy Cake, this No-Bake Chocolate Biscuit Cake is incredibly easy to make.
What makes this a GREAT Chocolate Biscuit Cake?
Sometimes, Chocolate Biscuit Cake (or Lazy Cake) can be a little dry and break apart easily.
I really wanted to create a Chocolate Biscuit Cake with a moist, buttery texture and decadently rich chocolate taste. This recipe is the result of multiple attempts to get this Biscuit Cake just right (much to the delight of my family who have had the task of finishing off each attempt).
To be honest, all versions of the recipe were declared delicious, but this one is the winner. The keys to its success:
- solid chocolate rather than cocoa.
- increasing the proportions of chocolate and butter.
- crushing some of the biscuits.
- biscuit and fruit size.
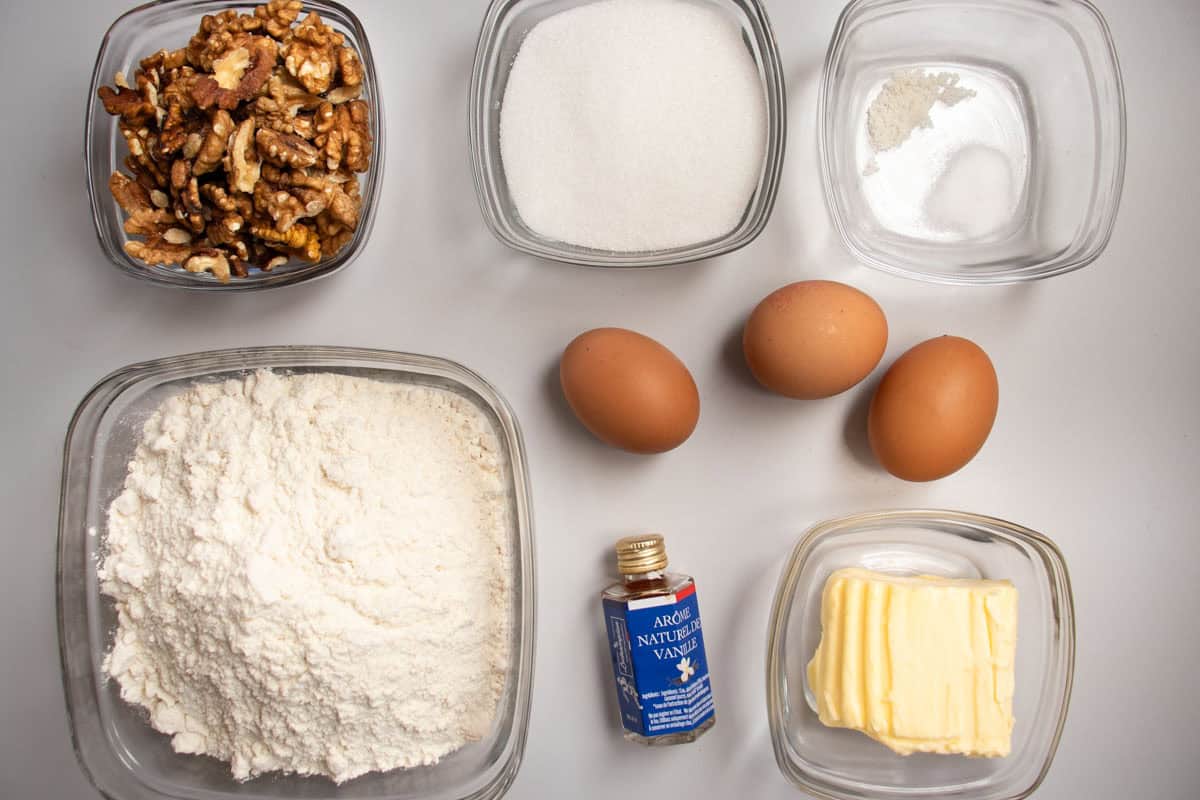
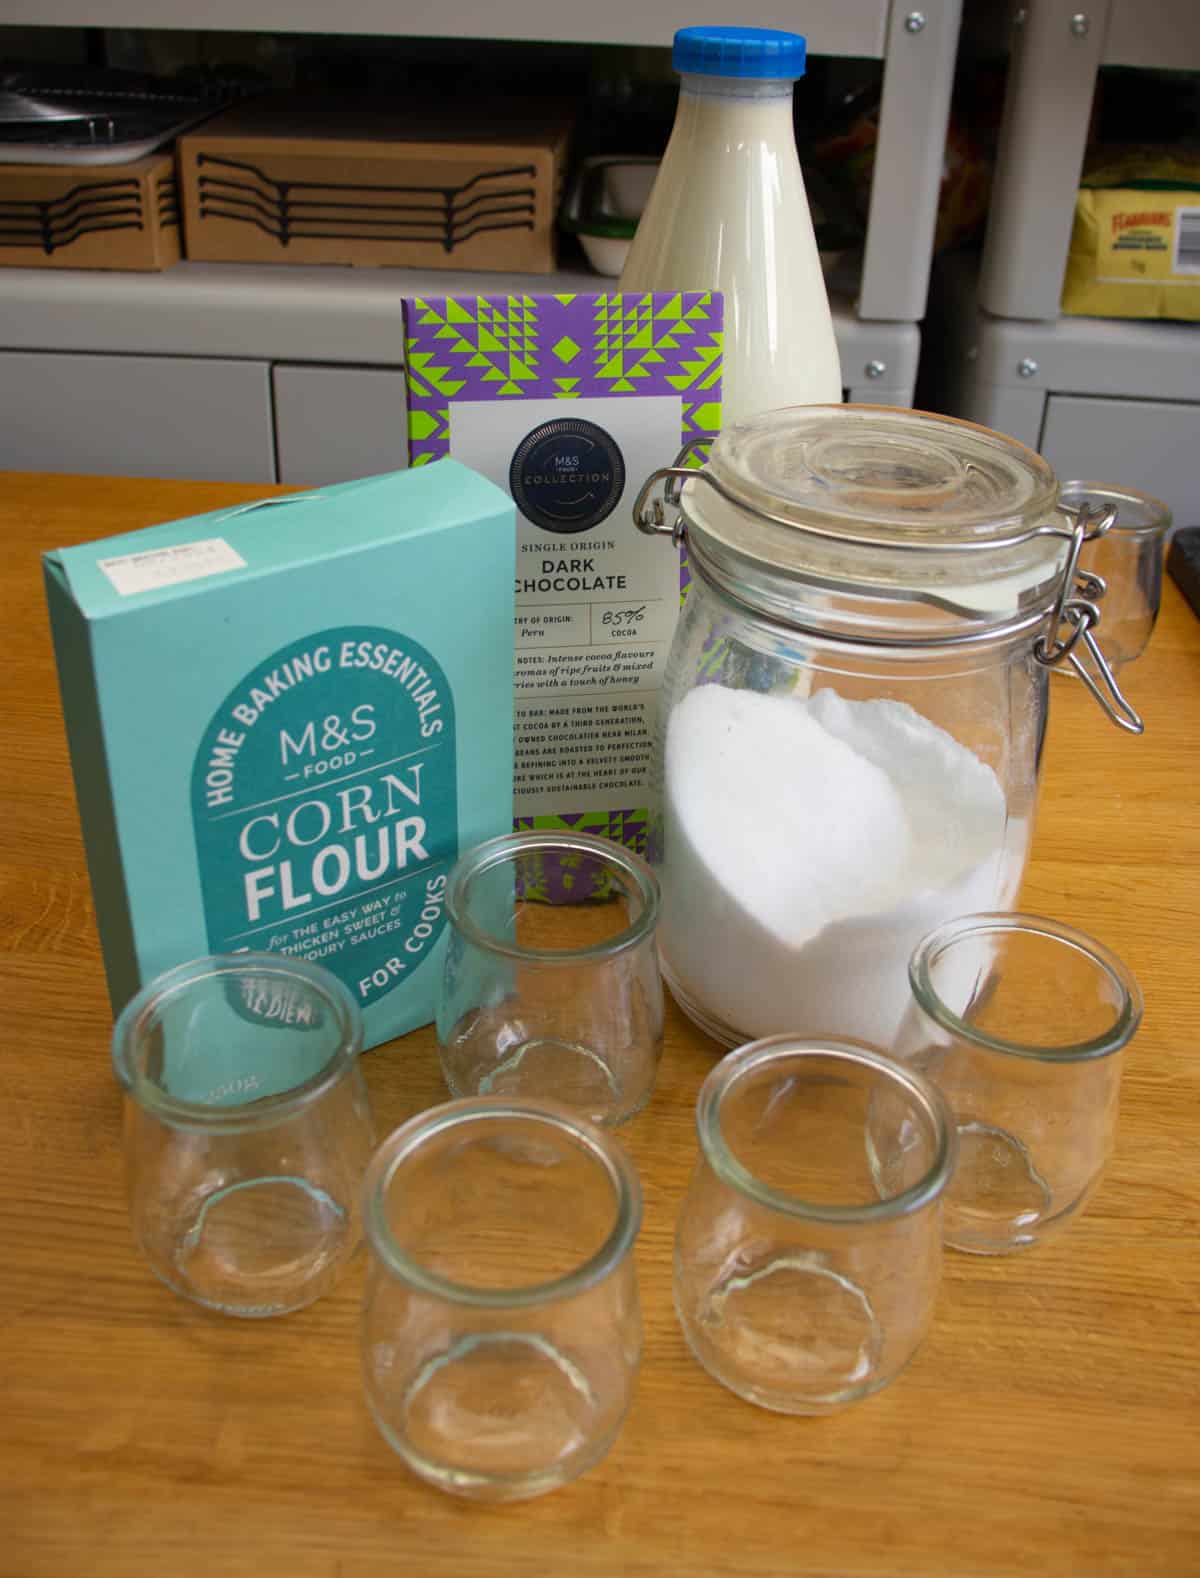
Ingredients
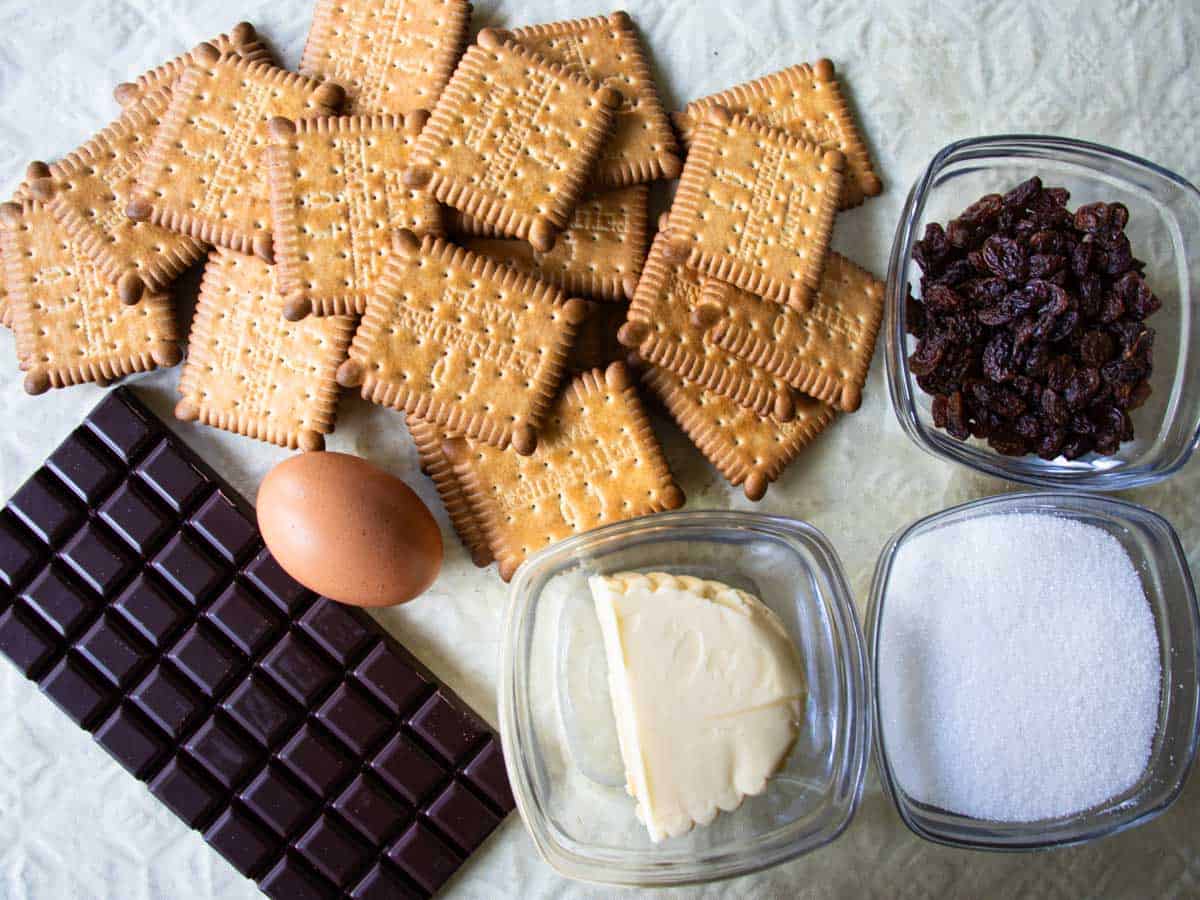
- biscuits. Digestive, Rich Tea or Petit Beurre biscuits are all favourites to use for this type of cake. I love to use Petit Beurre biscuits. Like Digestives, they have a slight saltiness, but with more crunch.
- chocolate.
- egg.
- butter.
- sugar. Sugar gives a very light added crunchiness, which my family loves. I prefer to use fine caster sugar to keep the right balance.
- raisins. Other types of dried fruit also work very well, such as sultanas, glacé cherries or ready to eat apricots. To minimise the cake slices breaking too easily, chop any dried fruit substitutes up so that they are roughly sultana size.
See recipe card for quantities.
How to make a Chocolate Biscuit Cake
You will need to start making this cake well ahead of time, ideally the day before you need it.
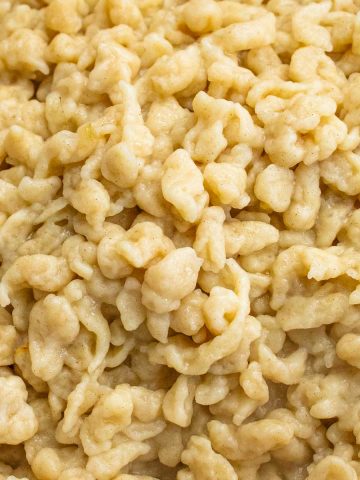
- Break up biscuits. Break up about two thirds of 7oz (200g) biscuits into pieces approximately ¾ inch (1cm) square.
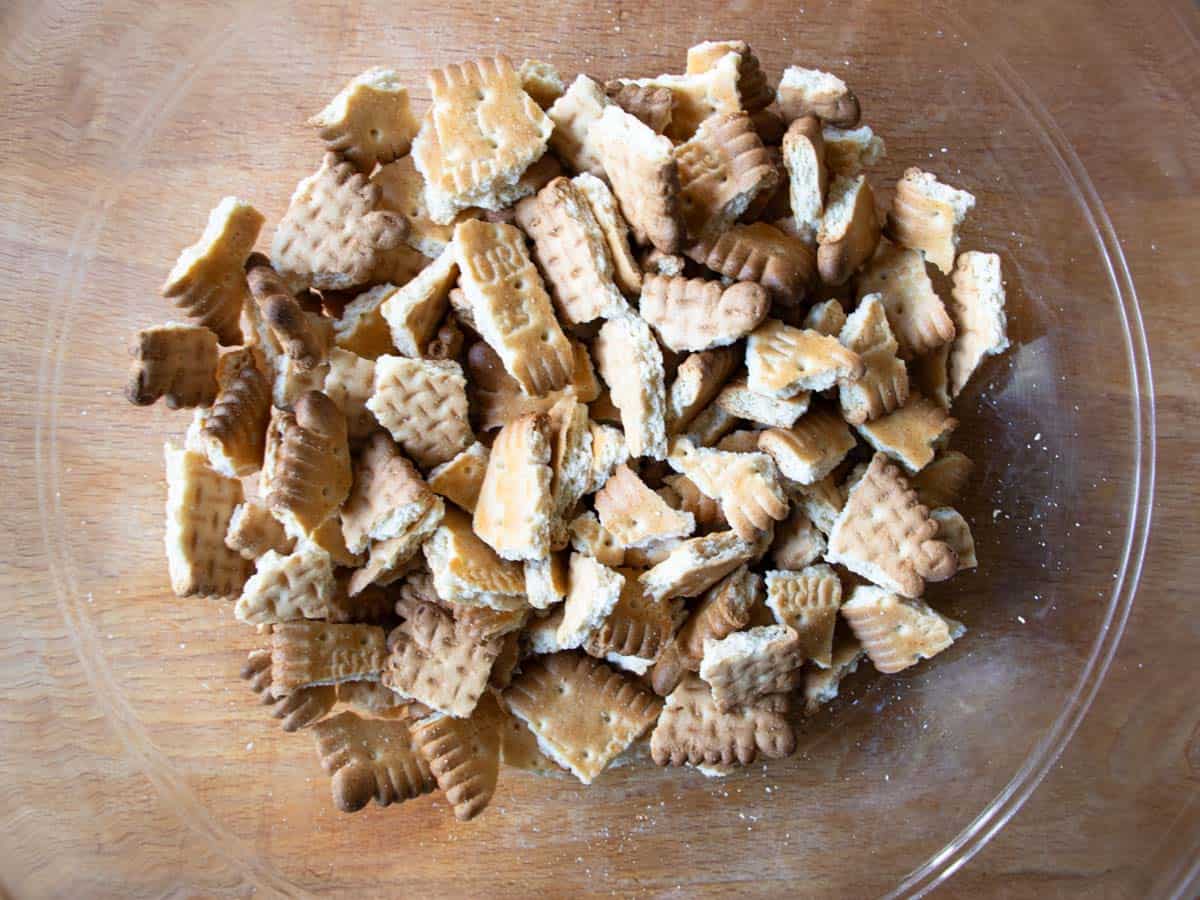
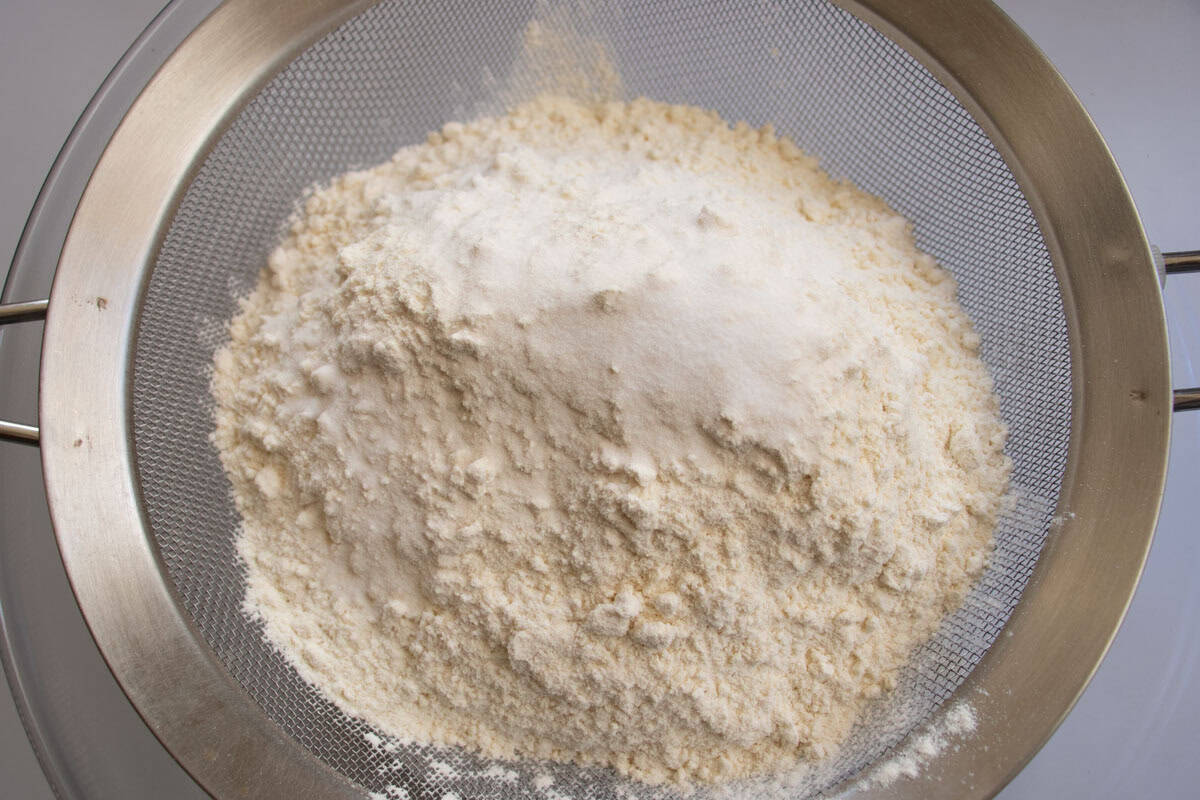
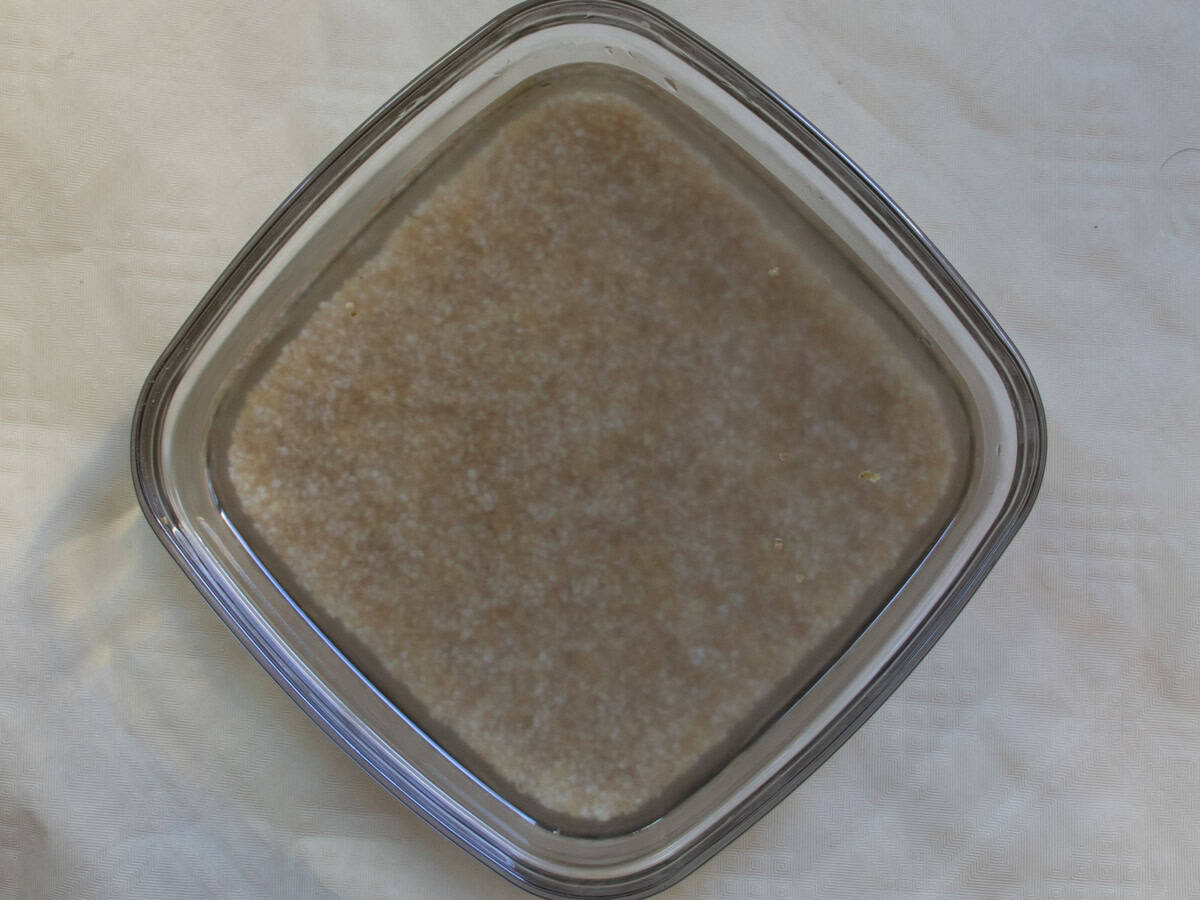
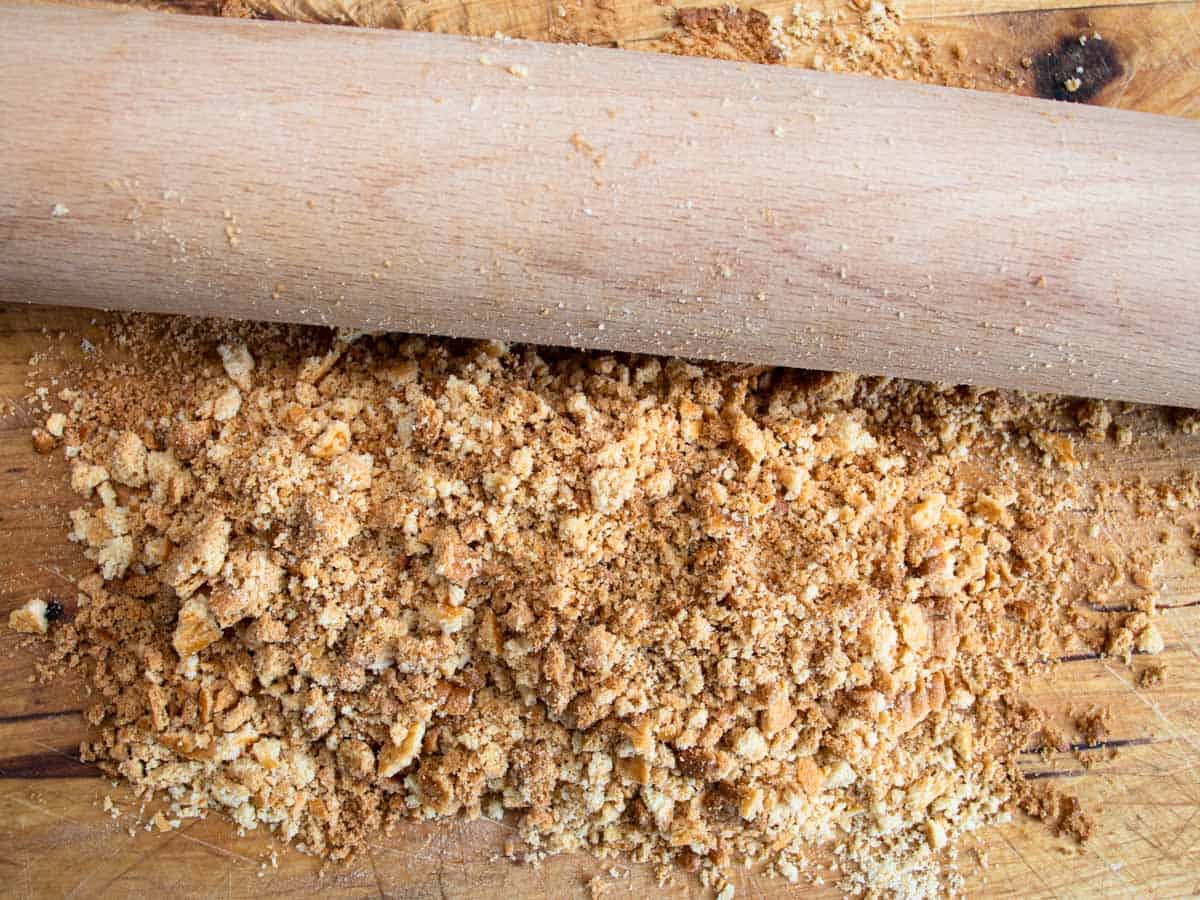
- Make crumbs. Using a rolling pin, crush the remaining one third of the biscuits into fine crumbs.
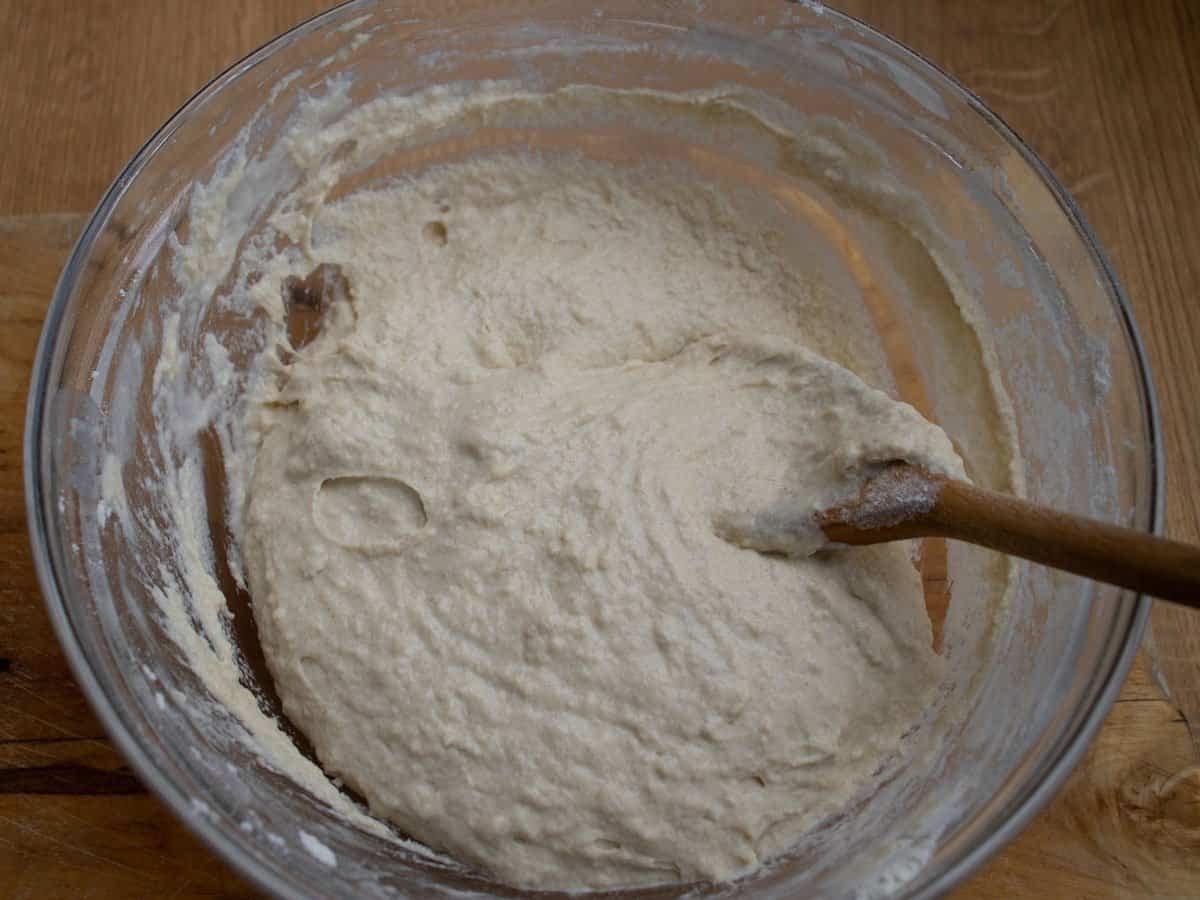
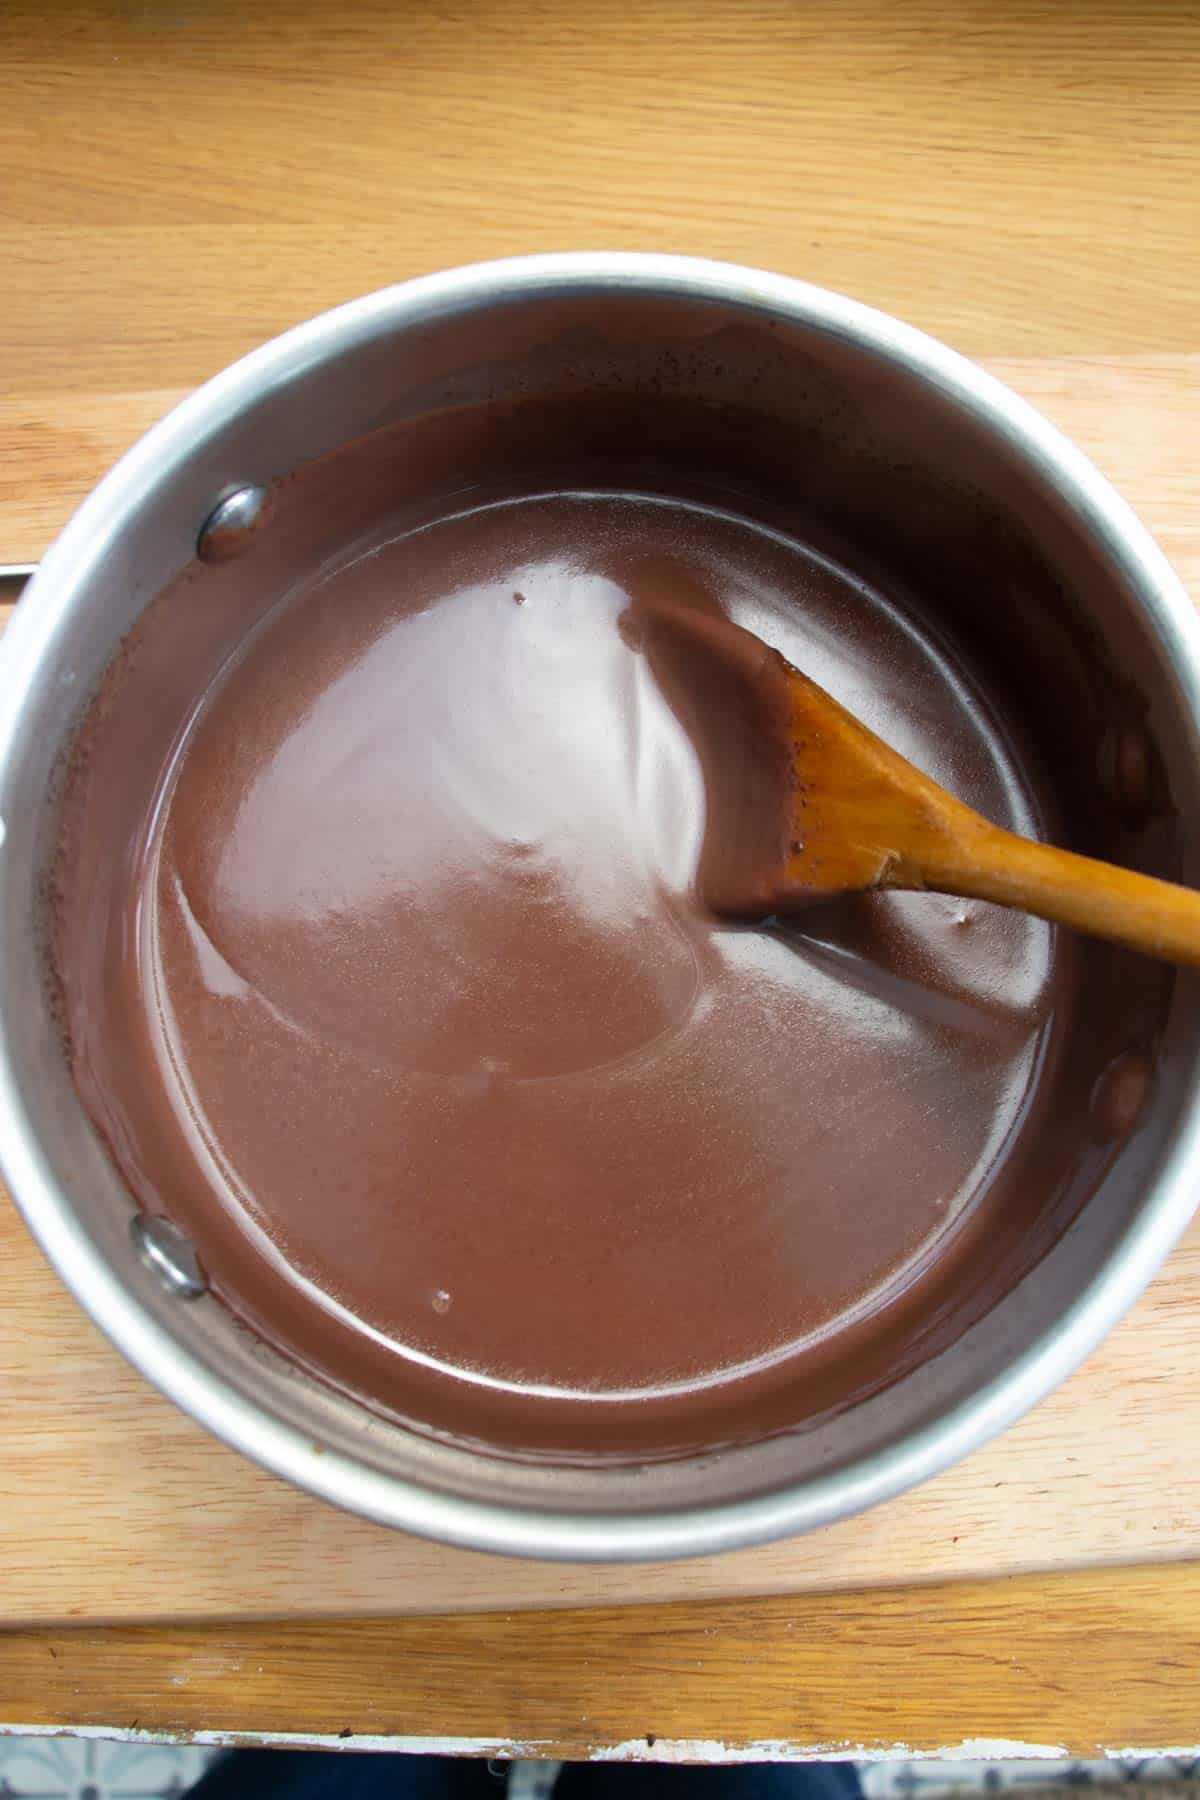
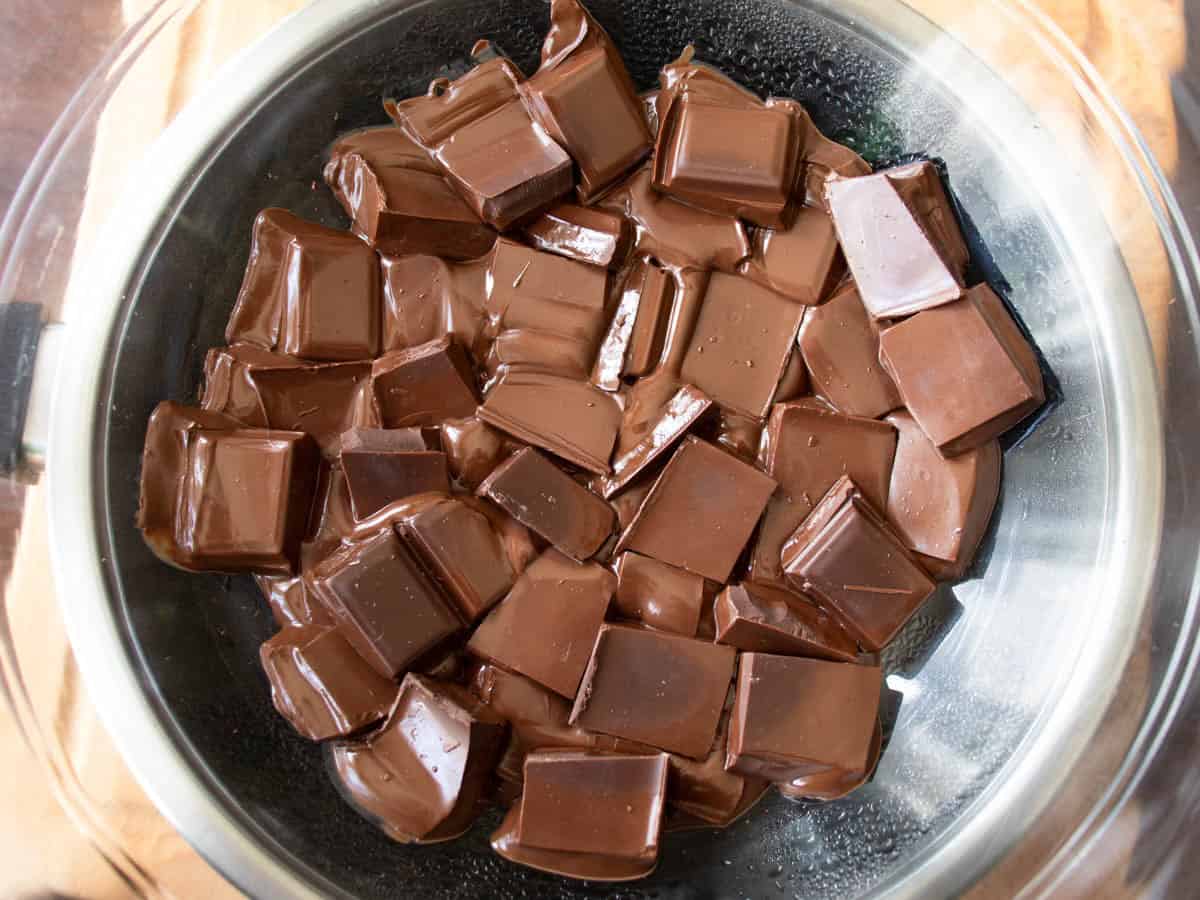
- Melt chocolate. Put a couple of inches of water into saucepan and heat the water until it starts to simmer. Turn the heat down and place a heatproof bowl onto the saucepan. Make sure that the base of the bowl does not touch the water. Break 7oz (200g) chocolate into pieces and put into the heatproof bowl. Keep the saucepan on a very low heat. As the chocolate pieces start to melt, stir from time to time to ensure they are all completely melted.
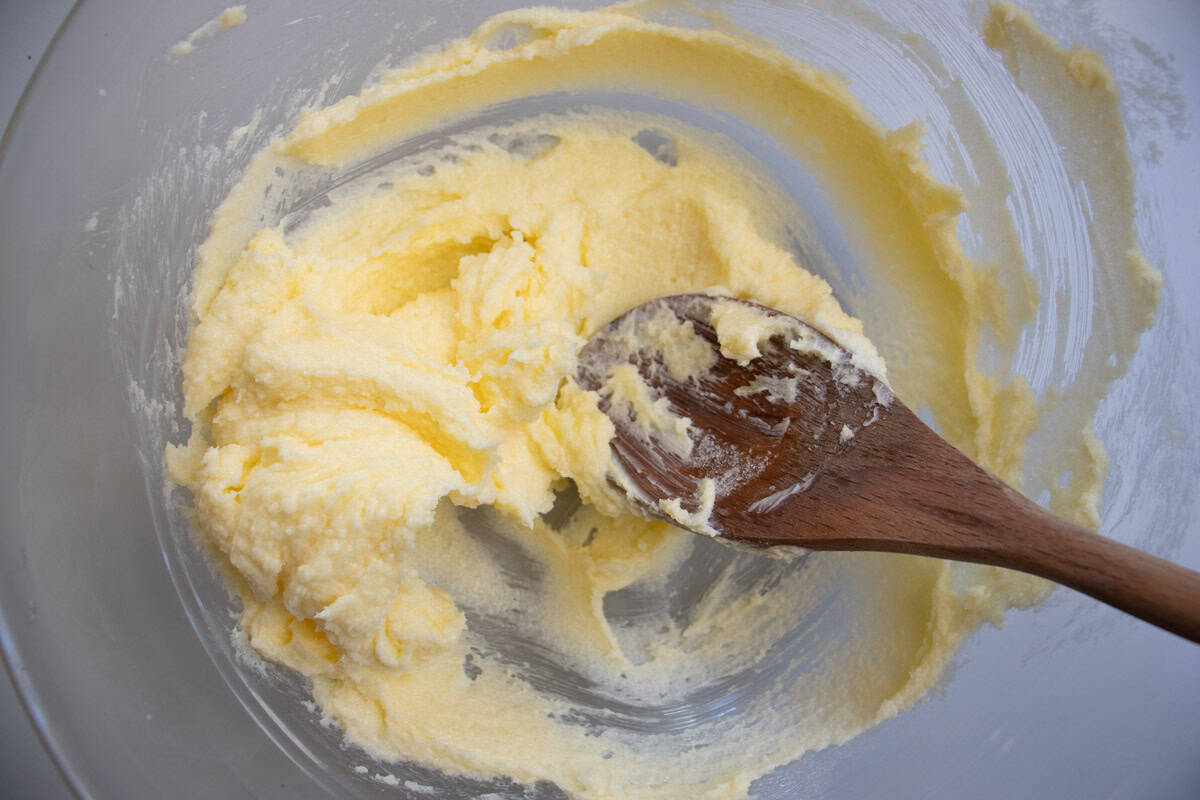
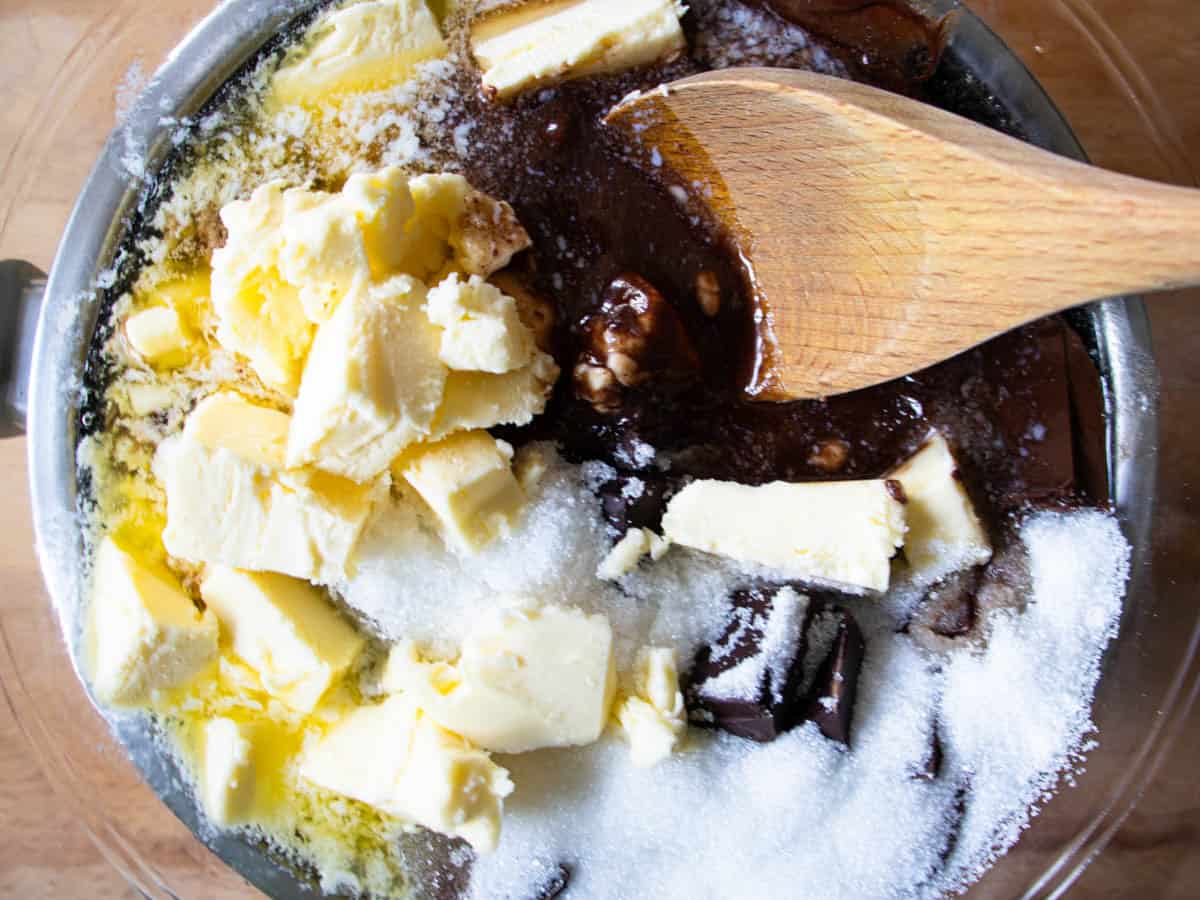
- Add butter & sugar. Cut 6oz (170g) butter into small chunks. Add the butter pieces and 6oz (170g) sugar to the melted chocolate and stir together. Keep the saucepan on a very low heat. If the water show signs of coming to boil, take the saucepan off the heat. Keep the mixture over the heated water until all the butter is melted.
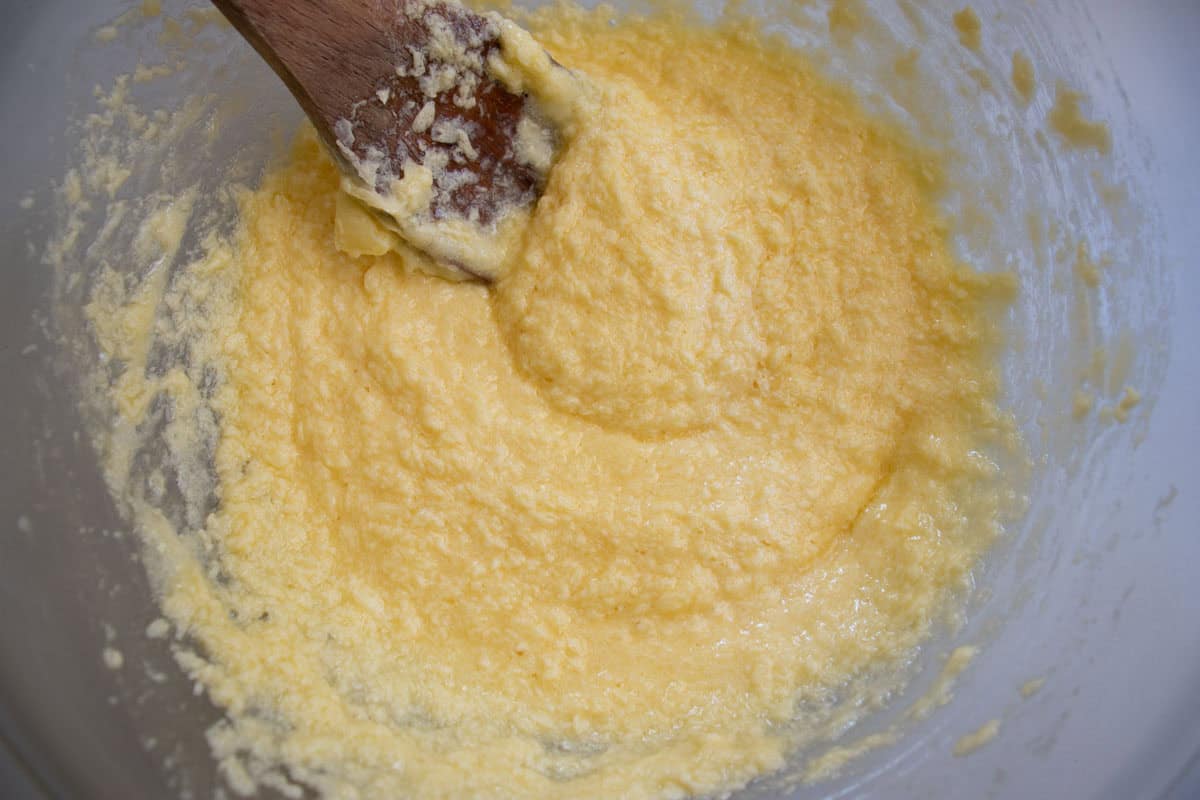
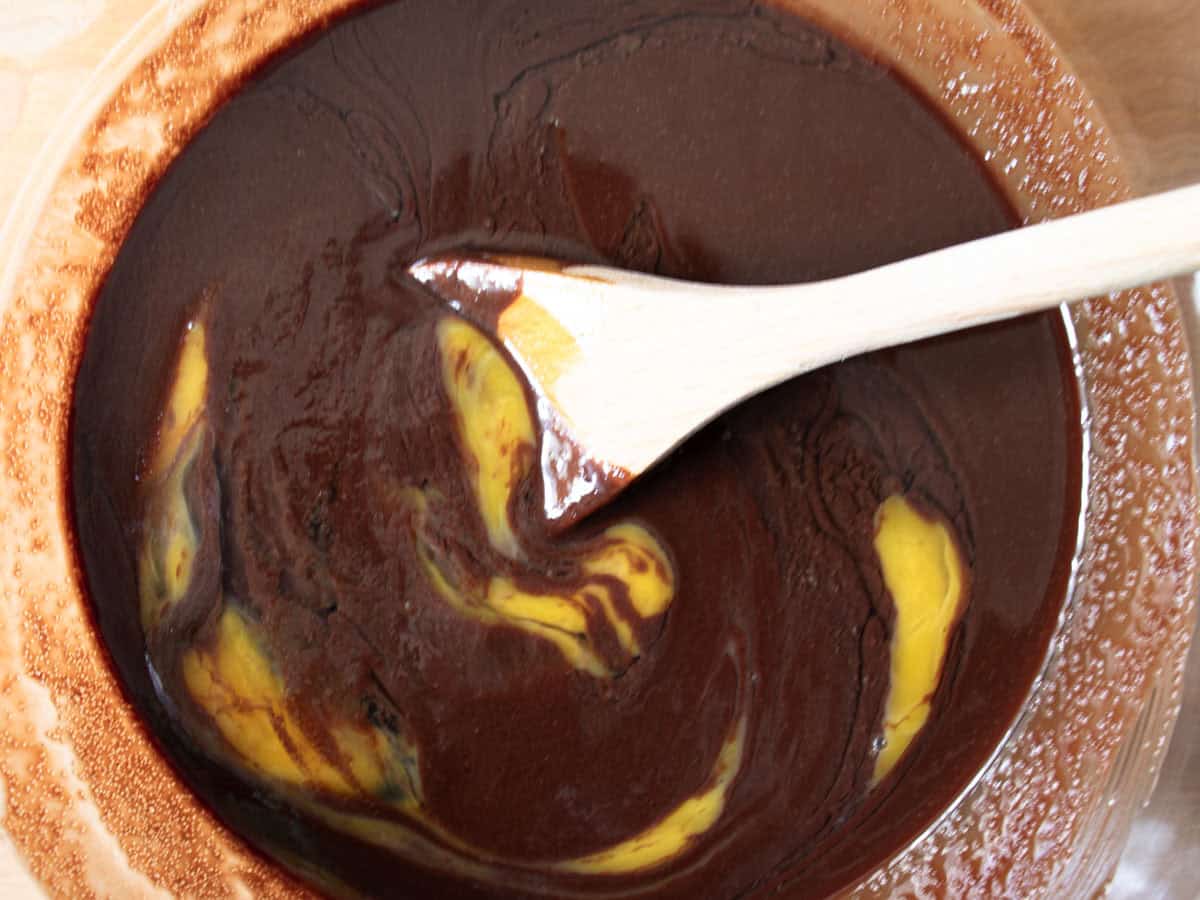
- Add egg. Remove the mixing bowl from the saucepan. Break 1 egg into the melted chocolate and stir until thoroughly mixed together.
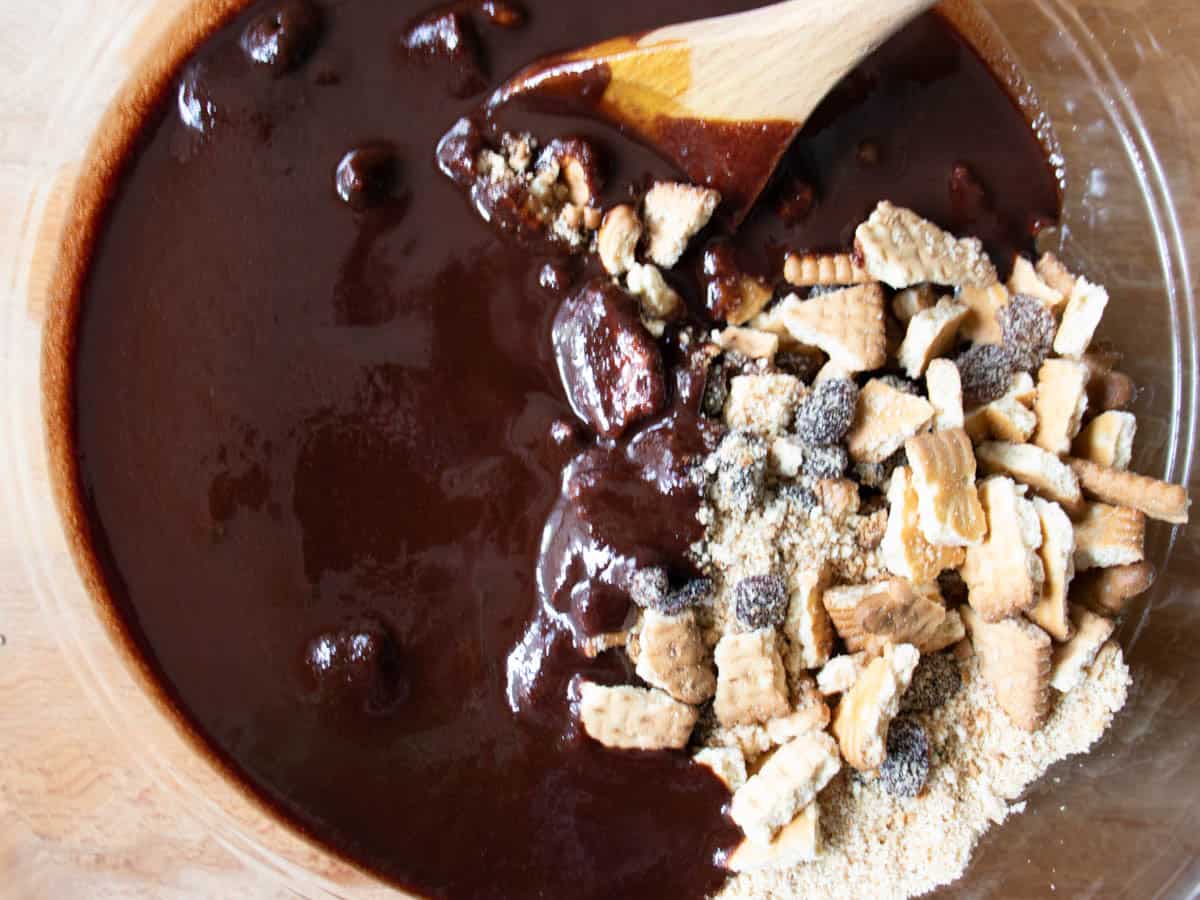
- Add biscuit pieces, biscuit crumbs & raisins. Mix the biscuit pieces, biscuit crumbs and 3oz (85g) raisins into the chocolate mixture.
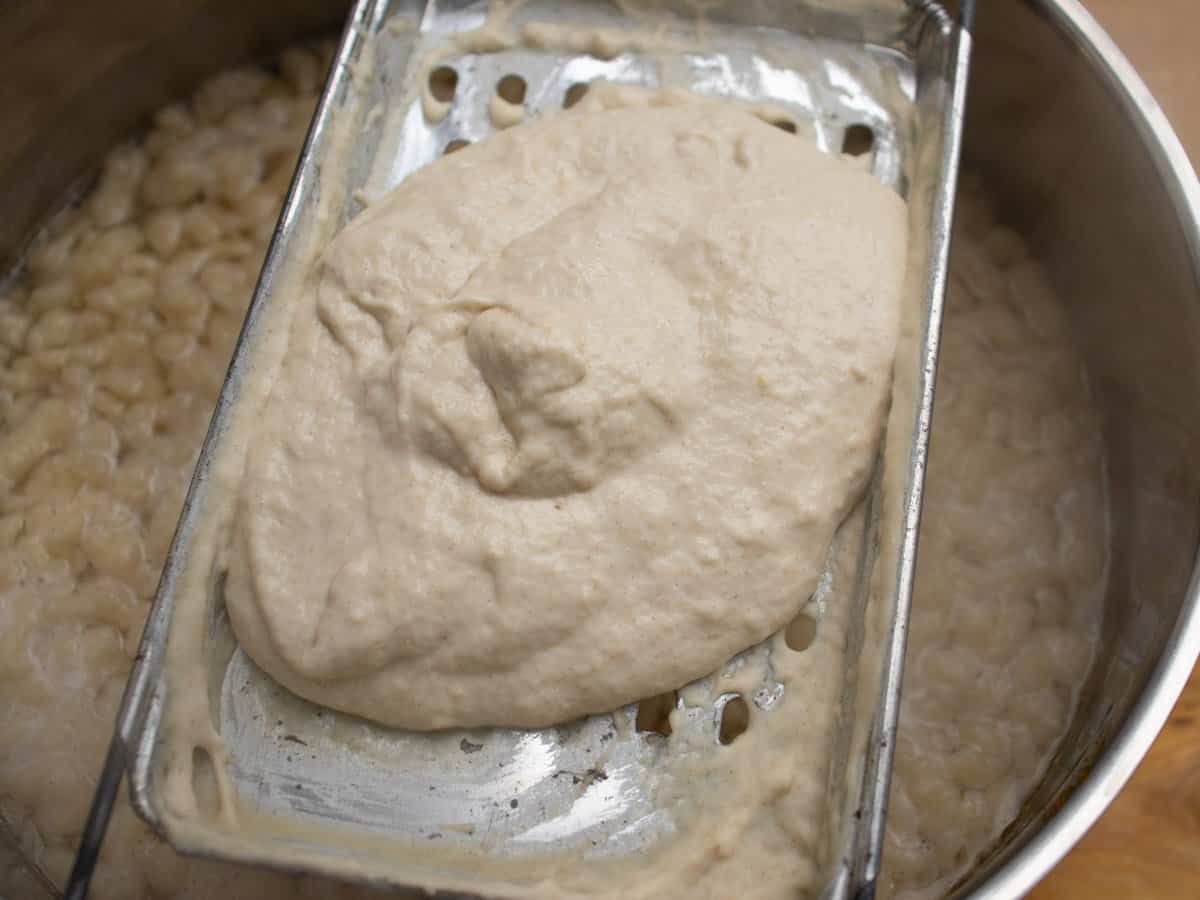
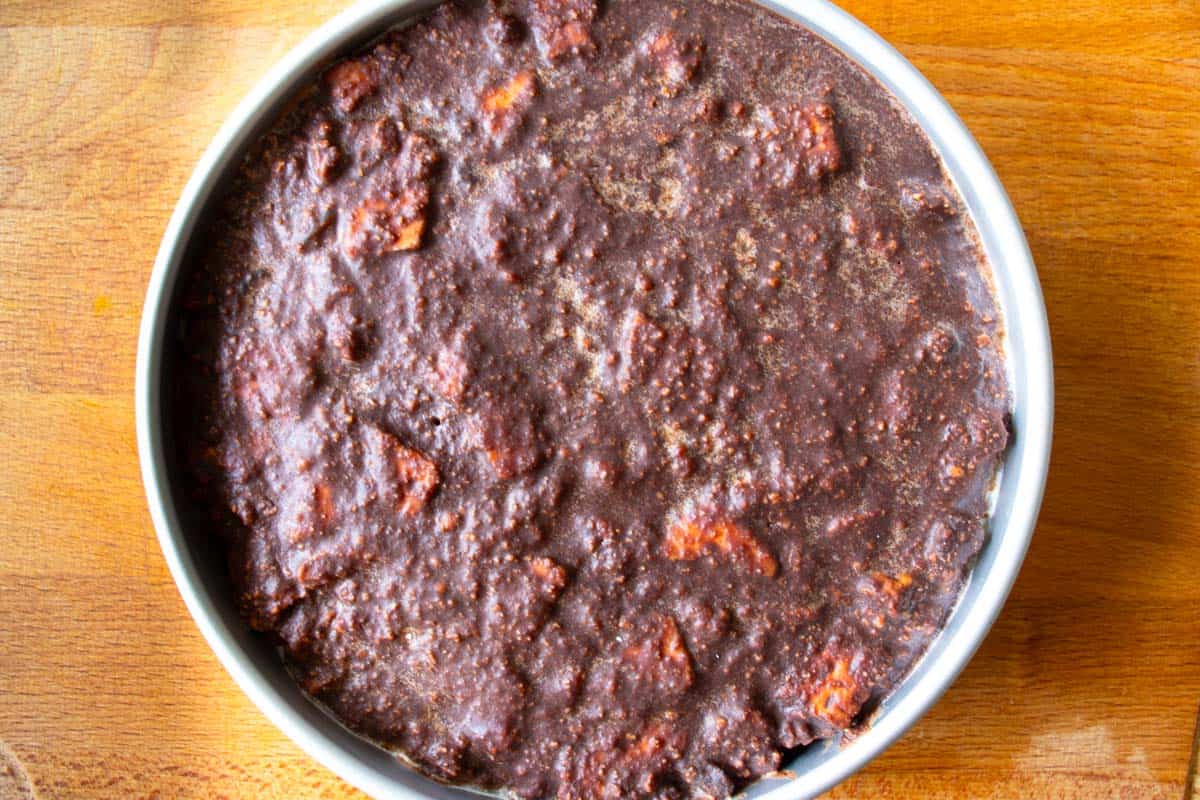
- Put into baking tin. Put the cake mixture into a sandwich cake tin approximately 18cm in diameter. Make sure you press the mixture firmly into the cake tin to avoid air gaps in the cake. You may need to crush the mixture into the tin to ensure that there is a reasonably flat surface.
- Chill, then remove from tin. Place the cake tin into the fridge and leave for several hours to chill through, preferably overnight. When the cake is thoroughly chilled and solidified, remove from tin.
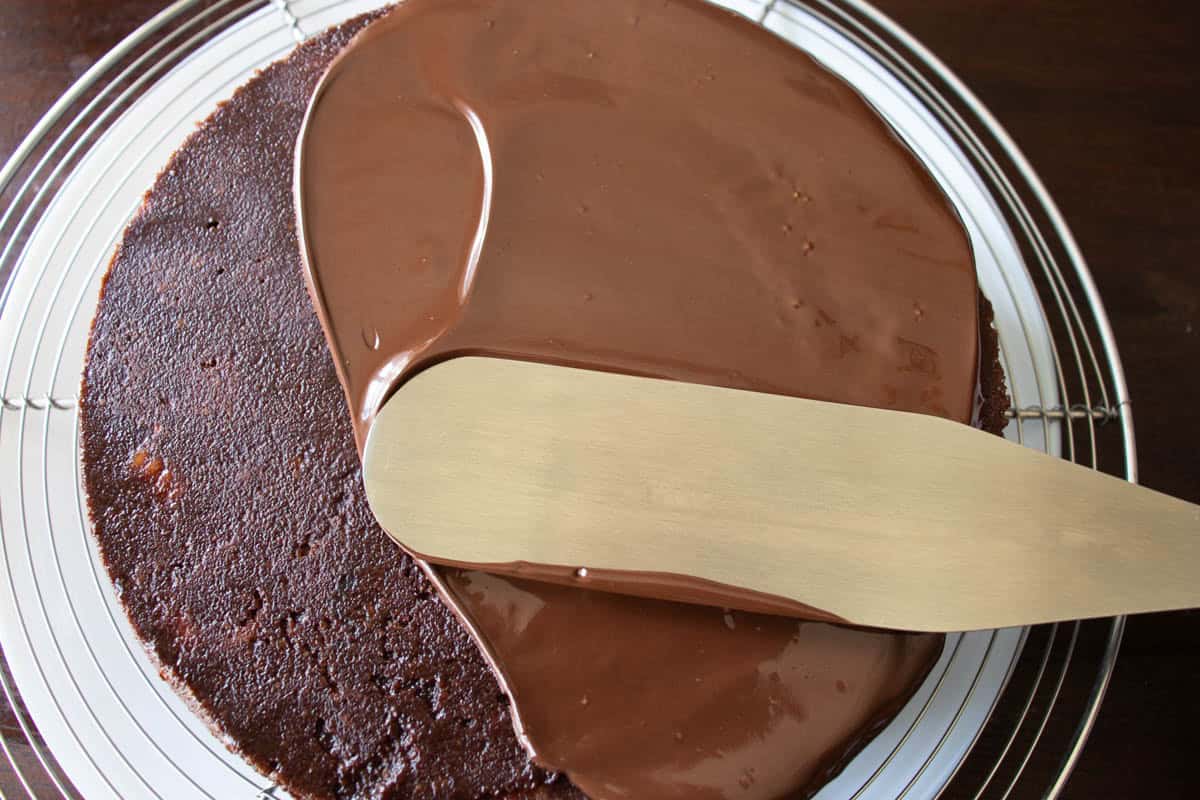
- Melt chocolate. Melt 3 ½oz (100g) of dark chocolate in a heatproof bowl over a saucepan of water. When the chocolate is completely melted, remove the saucepan from the heat but keep the heatproof bowl on the saucepan so that the chocolate does not solidify.
- Cover cake with chocolate. Using a spatula spread the melted chocolate over the top and sides of the cake.
- Leave to set. Keeping the cake at room temperature, put it to one side to give time for the chocolate coating to set.
More No-bake Dessert Recipes
📋 Recipe Card
Lazy Cake (No-Bake Chocolate Biscuit Cake)
Equipment
- 1 Cake sandwich tin, 7inch (18cm) diameter A slightly larger sandwich tin, 8inch (20cm), also works well, although the cake will have less depth.
Ingredients
Cake Ingredients
- 7 oz Petit Beurre biscuits Digestive or Rich Tea biscuits also work well
- 7 oz solid dark chocolate
- 6 oz butter
- 6 oz caster sugar
- 1 egg
- 3 oz raisins
Chocolate Coating
- 3½ oz solid dark chocolate
Instructions
- Break up biscuits. Break up about two thirds of 7oz (200g) biscuits into pieces approximately ¾ inch (1cm) square.
- Make crumbs. Using a rolling pin, crush the remaining one third of the biscuits into fine crumbs.
- Melt chocolate. Put a couple of inches of water into saucepan and heat the water until it starts to simmer. Turn the heat down and place a heatproof bowl onto the saucepan. Make sure that the base of the bowl does not touch the water. Break 7oz (200g) chocolate into pieces and put into the heatproof bowl. Keep the saucepan on a very low heat. As the chocolate pieces start to melt, stir from time to time to ensure they are all completely melted.
- Add butter & sugar. Cut 6oz (170g) butter into small chunks. Add the butter pieces and 6oz (170g) sugar to the melted chocolate and stir together. Keep the saucepan on a very low heat. If the water show signs of coming to boil, take the saucepan off the heat. Keep the mixture over the heated water until all the butter is melted.
- Add egg. Remove the mixing bowl from the saucepan. Break 1 egg into the melted chocolate and stir until thoroughly mixed together.
- Add biscuit pieces, biscuit crumbs & raisins. Mix the biscuit pieces, biscuit crumbs and 3oz (85g) raisins into the chocolate mixture.
- Put into baking tin. Put the cake mixture into a sandwich cake tin approximately 18cm in diameter. Make sure you press the mixture firmly into the cake tin to avoid air gaps in the cake. You may need to crush the mixture into the tin to ensure that there is a reasonably flat surface.
- Chill, then remove from tin. Place the cake tin into the fridge and leave for several hours to chill through, preferably overnight. When the cake is thoroughly chilled and solidified, remove from tin.
- Melt chocolate. Melt 3 ½oz (100g) of dark chocolate in a heatproof bowl over a saucepan of water. When the chocolate is completely melted, remove the saucepan from the heat but keep the heatproof bowl on the saucepan so that the chocolate does not solidify.
- Cover cake with chocolate. Using a spatula spread the melted chocolate over the top and sides of the cake.
- Leave to set. Keeping the cake at room temperature, put it to one side to give time for the chocolate coating to set.